OpenPGP Support
OnlyKey uses the same standard OpenPGP keys used by popular services like Protonmail and Keybase. If you already have a key with these services you can use this guide to export the private key and load it onto OnlyKey. You can also use this guide to create a new private key if you don’t have one. OnlyKey uses this loaded key for encrypted messages and files (see WebCrypt and OnlyKey Agent) and can use this key for secure backups of your OnlyKey (see secure backups).
For best compatibility we recommend using one of these options:
Option A - Create X25519 OpenPGP key with ProtonMail
Option B - Create RSA OpenPGP key with Keybase
Option C - Create X25519 OpenPGP or RSA key with GnuPG
| OnlyKey WebCrypt | Secure Backup | OnlyKey SSH Agent | OnlyKey GPG Agent | Keybase Support | Protonmail Support | |
|---|---|---|---|---|---|---|
| Option A | Yes | Yes | Yes | Yes | Yes | Yes |
| Option B | Yes | Yes | Yes | Yes | Yes | No |
| Option C | Yes | Yes | Yes | Yes | Yes | No |
To use an existing OpenPGP key follow the steps in Exporting Keys.
If you wish to generate a new key, follow the steps below:
Generating Keys
Generate OpenPGP Key Using ProtonMail
Generate OpenPGP Key Using Keybase

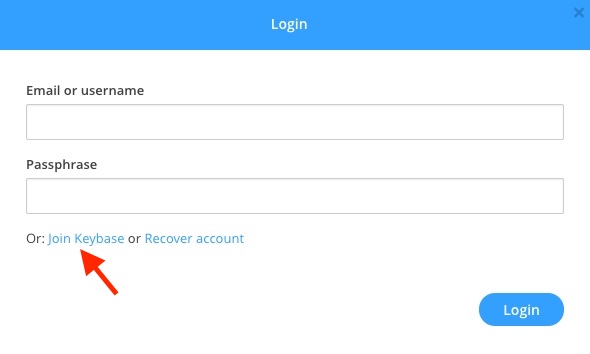
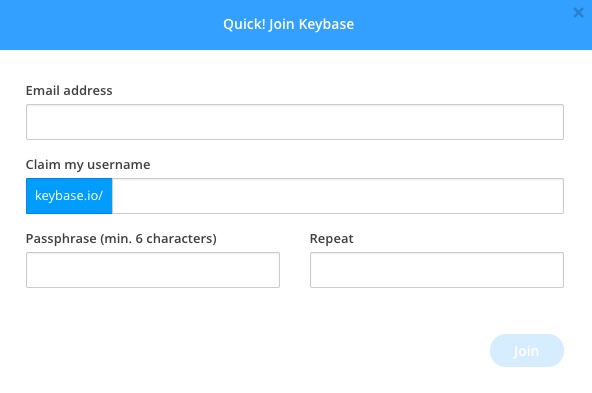
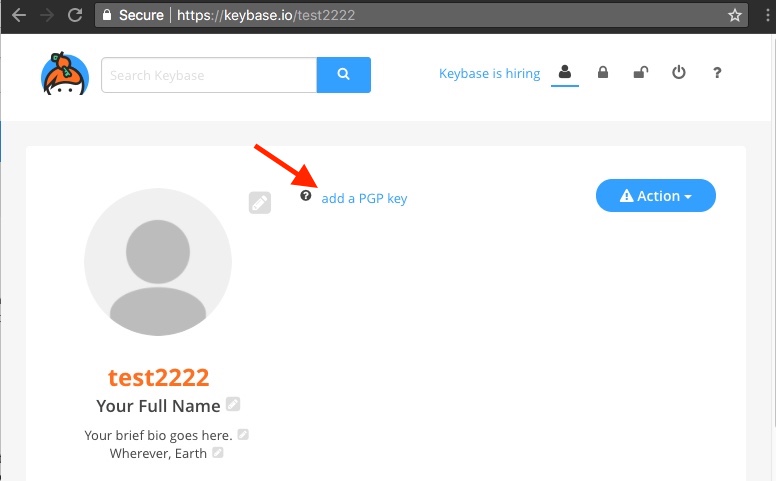
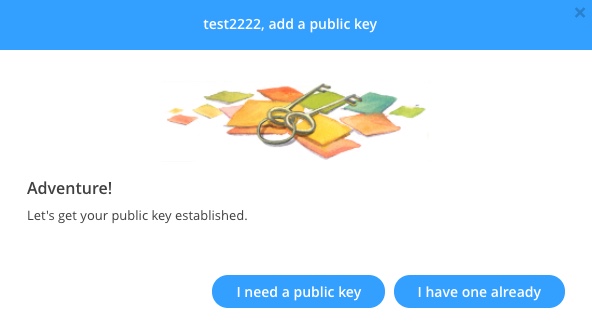
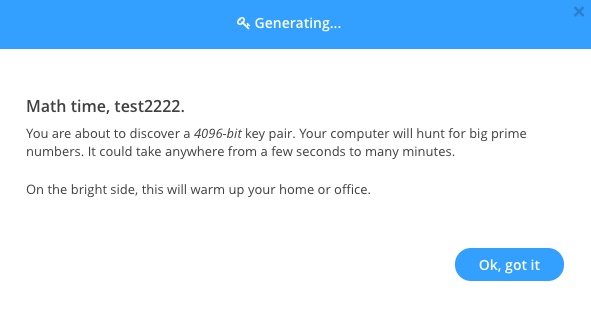
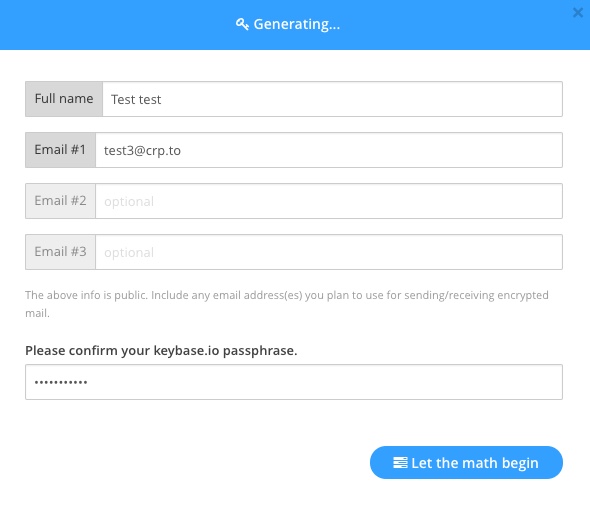
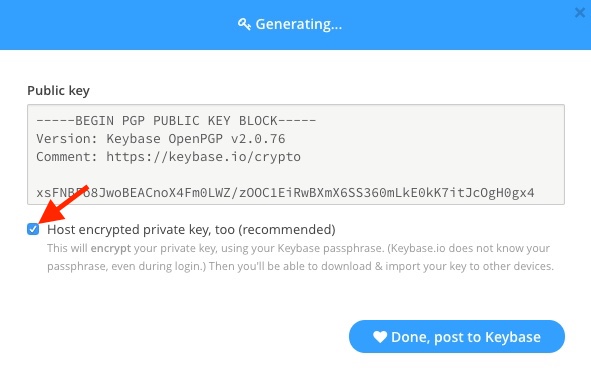
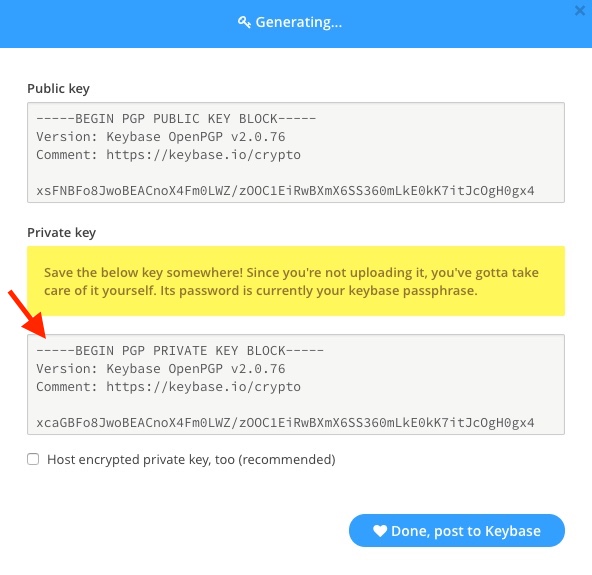
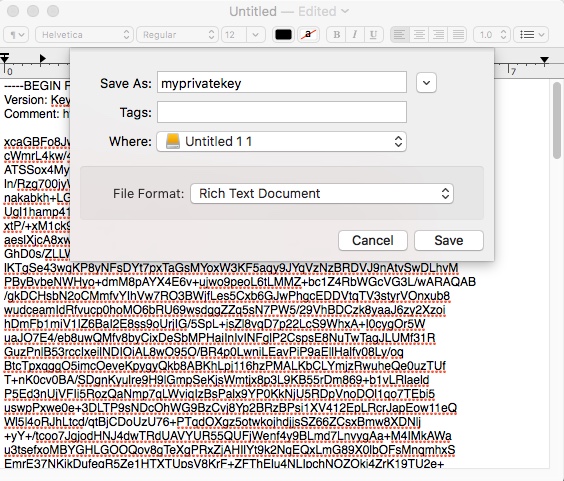
Now all that is needed to start sending encrypted messages is to load the key you generated onto your OnlyKey.
Generate OpenPGP Key Using GPG
$ gpg --expert --full-gen-key
gpg (GnuPG) 2.2.20; Copyright (C) 2020 Free Software Foundation, Inc.
This is free software: you are free to change and redistribute it.
There is NO WARRANTY, to the extent permitted by law.

Please select what kind of key you want:
(1) RSA and RSA (default)
(2) DSA and Elgamal
(3) DSA (sign only)
(4) RSA (sign only)
(7) DSA (set your own capabilities)
(8) RSA (set your own capabilities)
(9) ECC and ECC
(10) ECC (sign only)
(11) ECC (set your own capabilities)
(13) Existing key
(14) Existing key from card
Your selection? 9
Please select which elliptic curve you want:
(1) Curve 25519
(3) NIST P-256
(4) NIST P-384
(5) NIST P-521
(6) Brainpool P-256
(7) Brainpool P-384
(8) Brainpool P-512
(9) secp256k1
Your selection? 1
Please specify how long the key should be valid.
0 = key does not expire
= key expires in n days
w = key expires in n weeks
m = key expires in n months
y = key expires in n years
Enter number of years, i.e. 10 years
GnuPG needs to construct a user ID to identify your key.

Real name: Bob Smith
Email address: [email protected]
Comment:
You selected this USER-ID:
“Bob Smith [email protected]”
Replace Bob Smith with your name and email address
Change (N)ame, (C)omment, (E)mail or (O)kay/(Q)uit? o

We need to generate a lot of random bytes. It is a good idea to perform
some other action (type on the keyboard, move the mouse, utilize the
disks) during the prime generation; this gives the random number
generator a better chance to gain enough entropy.
Your generated key details should be displayed
$ gpg --output private.asc --armor --export-secret-key <YOUR EMAIL>
Loading Keys
- Ensure OnlyKey is unlocked
- Hold the 6 button down for more than 5 seconds, and then release, you will see the light turn off.
- Re-enter your PIN, you will see the OnlyKey LED flash red while in config mode.
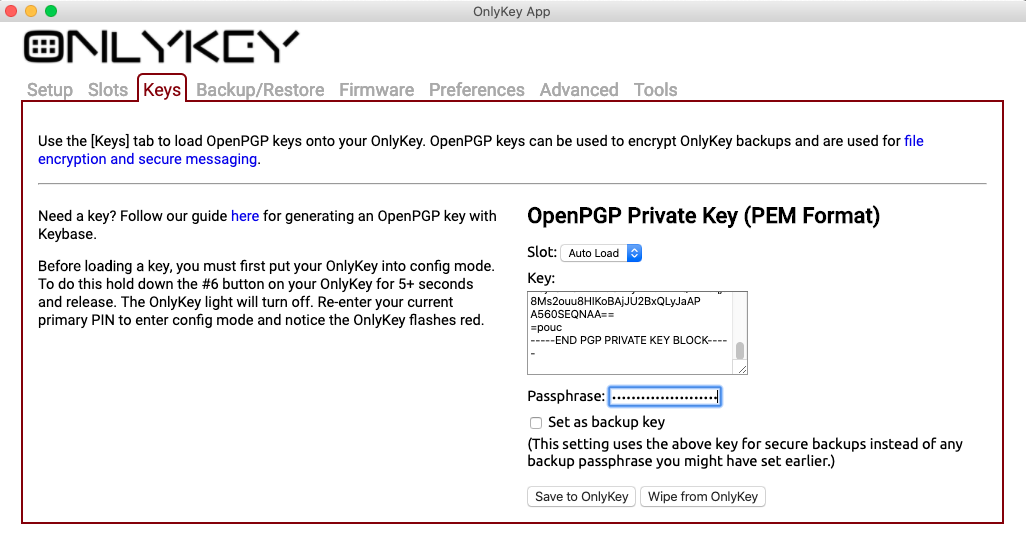
You should see a message displayed indicating the key was successfully saved to OnlyKey.
For using OpenPGP key with GPG get started with onlykey-agent here.
Exporting Keys
Keybase
If you already have a Keybase account go to your account and next to your key ID select edit -> Export my private key from Keybase.
Protonmail
Mailvelope
Troubleshooting
Some PGP/GPG keys contain legacy settings or values not supported by OpenPGP. These keys are not compatible with OnlyKey. The OnlyKey app uses OpenPGP.js to parse PGP keys, if you experience an error it may be that the PGP key is not compatible with OpenPGP.js. An additional troubleshooting step that can be done is to try importing key in another OpenPGP.js application such as Mailvelope.
Loading Keys Advanced
If you did not generate keys using the Generating Keys steps provided or you already have an OpenPGP key that you would like to use there are some additional considerations.
- OnlyKey supports RSA OpenPGP keys of sizes 2048 and 4096.
- OnlyKey supports ECC OpenPGP keys of type X25519 and NIST256P1
- Decryption operations using a 2048 size key takes about 2 seconds, with 4096 size key it takes about 9 seconds.
For best user experience we recommend using OnlyKey with X25519 or RSA 2048 (subkeys) for decryption and signing.
What are subkeys?
Each OpenPGP key is actually multiple keys. There is a primary key and subkey(s), for example when you follow the Generating Keys steps Keybase generates a key that has a 4096 key size primary key and two 2048 key size subkeys. The first subkey is used for decryption and the second subkey is used for signing.
Why does this matter?
You need to determine which keys to load to OnlyKey if you are generating your own key. Typically, if your key has two subkeys then subkey 1 is used for decryption and subkey 2 is used for signing.
If your key only has one subkey then the primary (master) key is typically used for signing and the subkey is used for decryption. This is the default for keys created with GnuPG and Mailvelope (OpenPGP.js).
Once you determine which key is used for signing and which key is used for decryption:
- Load the decryption subkey into slot 1 of OnlyKey and check “set as decryption key”.
- Load the signing primary/subkey into slot 2 of OnlyKey and check “set as signature key”.
Digging Deeper into PGP
You can use gpg2 via terminal to check the key flags by using the following commands:
$ gpg2 --import /Downloads/asdf_priv.asc
gpg: key 86F9C12A016169E4: public key "asdf <[email protected]>" imported
gpg: key 86F9C12A016169E4: secret key imported
gpg: Total number processed: 1

$ gpg2 --with-colons --list-keys 86F9C12A016169E4
tru::1:1481922139:0:3:1:5
pub:-:4096:1:86F9C12A016169E4:1513980282:::-:::scESC::::::23::0:
fpr:::::::::37F75C777AEBB46FB690040986F9C12A016169E4:
uid:-::::1513980287::AB20A6F0D2D7FE2A9EFF4575C3FF7ED2DAC66F4A::asdf <[email protected]>::::::::::0:
sub:-:4096:1:8E6332B693FB6D8F:1513980282::::::e::::::23:
fpr:::::::::F5F80C91796859CEC6CB54768E6332B693FB6D8F:
In the shown example the flag ‘e’ (encryption) indicates that the first subkey is the decryption key. The flag ‘sc’ indicates that the primary key is the signing key
Exporting a key from GPG and Loading onto OnlyKey
$ gpg2 --export-secret-key -a "asdf"
- Ensure OnlyKey is unlocked
- Hold the 6 button down for more than 5 seconds, and then release, you will see the light turn off.
- Re-enter your PIN, you will see the OnlyKey LED flash red while in config mode.
You should see a message displayed indicating the key was successfully saved to OnlyKey.
You should see a message displayed indicating the key was successfully saved to OnlyKey.
Loading custom GPG private keys onto OnlyKey
There are many possible configurations for GPG keys some of which may not be parsable in the OnlyKey app. Advanced configurations such as subkeys with different passphrases than the root keys are parsable using the python script here.
Edit me